Crawl Space Vapor Barrier: Mil Thickness & DIY Install (2026)
Out of the Mold Editorial Team
Our guides are research-backed and cite EPA, CDC, and peer-reviewed sources. Product reviews are based on hands-on testing, not manufacturer claims. Read our editorial standards.
Affiliate Disclosure: Out of the Mold is reader-supported. As an Amazon Associate, we may earn a commission when you buy through links on this page — at no extra cost to you. Our picks are based on independent standards, manufacturer specifications, and published research, not commissions.
Key Takeaways
- Use 10-12 mil reinforced poly for a DIY crawl space barrier — 6 mil meets the IRC R408.3 code minimum but tears and won't last; 20 mil is overkill for a floor cover.
- 'Reinforced' matters more than the mil number: a string-reinforced grid stops a puncture from ripping.
- Treat existing mold BEFORE sealing — plastic over active mold traps its moisture and builds a greenhouse. This is the mistake that turns a $300 project into a remediation bill.
- Overlap seams 6 inches and tape every one; a butted or untaped seam leaks ground moisture straight through, so the barrier looks done but isn't.
- Materials for a 1,500 sq ft floor barrier run about $150-$500 (two rolls + tape + wall attachment) versus $2,000-$8,000 for a contractor encapsulation.
For a DIY crawl space vapor barrier, use 10–12 mil reinforced polyethylene over the entire dirt floor, overlap seams 6 inches and tape them, and run it 6 inches up the foundation walls. The 6 mil sheeting most stores push meets the IRC R408.3 code minimum but tears the first time you crawl across it — 10–12 mil is the durability sweet spot pros actually use. The one mistake that turns a weekend project into a remediation job: sealing plastic over active mold. Treat the mold first, then cover it. Expect $150–$500 in materials for a typical 1,500 sq ft floor-only barrier — versus $2,000–$8,000 for a contractor encapsulation.
Once you've figured out that the damp, musty smell and the mold upstairs trace back to a dirt crawl space, the fix is conceptually simple: stop ground moisture from evaporating into the space. A sheet of plastic does that. The questions that actually cost people money are which thickness, how much to buy, and what to do about the mold that's already there— and that's where the contractor quotes and the materials vendors both have an angle. Here's the independent version.
What a Vapor Barrier Actually Does
A dirt crawl space is a moisture pump. Ground water evaporates upward, 24/7, into the space under your floor — a bare crawl space can push gallonsof water vapor a day into the structure. That vapor raises the humidity, condenses on cool framing and ductwork, and feeds mold on the joists and subfloor. A vapor barrier is a physical cap over the soil that blocks that evaporation. It doesn't dry the space by itself — it stops new moisture from coming in so a crawl space dehumidifier (or just sealed vents) can finish the job.
Mil Ratings Decoded: 6 vs. 10 vs. 12 vs. 20
"Mil" is thousandths of an inch — the plastic's thickness. This is the single decision vendors muddy the most, so here's the honest truth table:
| Thickness | What it's for | Honest verdict |
|---|---|---|
| 6 mil | Code minimum (IRC R408.3) | Legal, cheap, and tears under knees and gravel. Fine for a small patch; underbuilt for a whole space. |
| 10–12 mil | DIY sweet spot | Where your money should go. Reinforced 10–12 mil resists punctures, lasts decades, and is what pros lay. |
| 20 mil | Full encapsulation / heavy traffic | Overkill for a DIY floor cover. Worth it only for a walked-on, fully sealed, warrantied encapsulation. |
The word that matters more than the number is reinforced. A string-reinforced 12 mil liner has a grid of scrim woven through it that stops a puncture from becoming a rip. An unreinforced 12 mil sheet is just thick plastic that still tears in a line. For a barrier you never want to redo, buy reinforced.
The Liner Guys 12 Mil Reinforced Crawl Space Vapor Barrier
The Liner Guys
$180–360
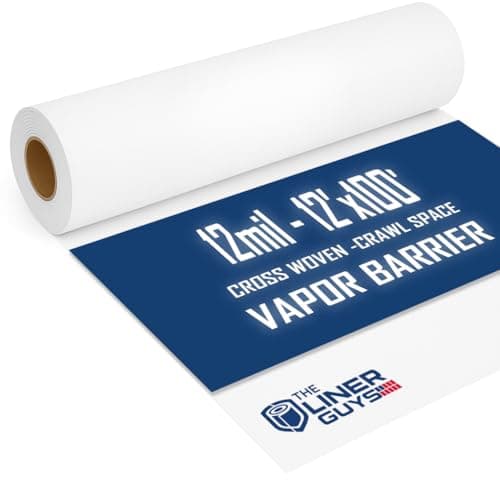
A string-reinforced 12 mil polyethylene liner — the thickness building scientists actually recommend for crawl spaces with foot traffic, stored gear, or a gravel subgrade. The reinforcement grid is what separates a barrier that lasts decades from a 6 mil sheet that tears the first time you crawl across it. This is the material for a permanent fix, not a code-checkbox.
Pros
- String-reinforced 12 mil — the DIY durability sweet spot, resists punctures from rocks and pipes
- Rated for decades of service, not the few years a 6 mil liner survives
- Low enough permeance for a proper sealed encapsulation, not just code compliance
Cons
- Overkill (and pricier) if you only need code-minimum floor cover
- Heavy rolls are awkward to maneuver in a tight crawl space
- You still need seam tape and a way to fasten it to the walls
If you're covering a small area, a rental, or working to a strict budget where code-minimum coverage is genuinely enough, standard 6 mil black poly is the honest cheap option — just know its limits.
Frost King 6 Mil Black Polyethylene Sheeting
Frost King
$20–55
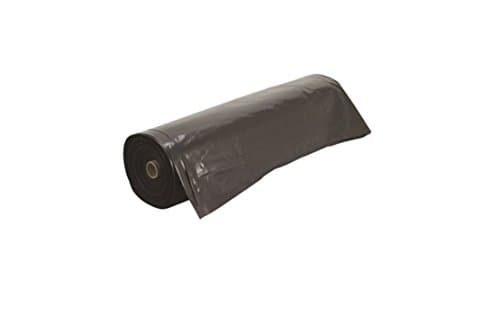
Standard 6 mil black polyethylene — the code-minimum material under IRC R408.3. It's honest budget coverage for a small or low-traffic crawl space, but understand what you're buying: 6 mil punctures and wears through faster than the reinforced 10–12 mil pros use for a lasting encapsulation. Fine for a patch; underbuilt for a whole space you never want to revisit.
Pros
- Meets the IRC R408.3 6 mil code minimum for crawl space ground cover
- Cheapest way to cover a small dirt patch or damp section
- Black poly blocks light so it won't feed anything under it
Cons
- 6 mil tears easily during install and wears through under gravel or knees
- Won't achieve the low permeance a sealed encapsulation needs
- Short rolls mean lots of taped seams on a bigger space
Materials Shopping List (With the Math)
Don't guess at quantities — you'll either run short mid-crawl or overpay. Here's the worked example for a 1,500 sq ft crawl space, floor plus a 6-inch wall lap:
- Barrier film:take your floor area and add ~15% for 6-inch seam overlaps and the wall run-up. 1,500 sq ft → buy ~1,750 sq ft of coverage. A 10' × 100' roll is 1,000 sq ft, so two rolls.
- Seam tape:figure one linear foot of tape per foot of seam. With ~10-foot-wide rows across a 1,500 sq ft space you'll run roughly 150–200 ft of seams, plus the wall perimeter — a 3-roll pack of 180-ft tape covers it with margin.
- Wall attachment:butyl tape or a mechanical termination bar plus fasteners to hold the barrier to the foundation wall (don't rely on gravity).
- Ground pins / landscape staples if the barrier is floor-only and not fully sealed to the walls, to keep it from shifting.
- PPE:an N95, gloves, and knee pads — you'll be on your hands and knees in a space full of disturbed dust and spores.
Vapor Barrier Seam Tape (9 Mil, 4" × 180')
Generic
$18–45
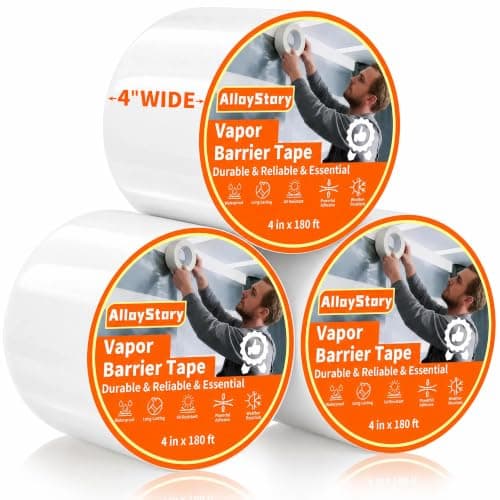
The tape that turns overlapping sheets into a continuous barrier. An untaped seam is just two pieces of plastic lying next to each other — ground moisture finds the gap. A 9 mil, 4-inch tape across a 6-inch overlap is the detail that separates a barrier that works from one that just looks installed.
Pros
- Purpose-built to seal barrier overlaps so ground moisture can't wick through gaps
- Wide 4" face covers a proper 6" seam overlap
- Multi-roll packs cover a whole crawl space in one order
Cons
- Won't stick to dusty or damp poly — surfaces must be wiped first
- Not a substitute for mechanical fasteners on wall attachment
- Cheap tapes lose grip over years; buy the heavier mil
3M 8511 N95 Particulate Respirator
3M
$20–30
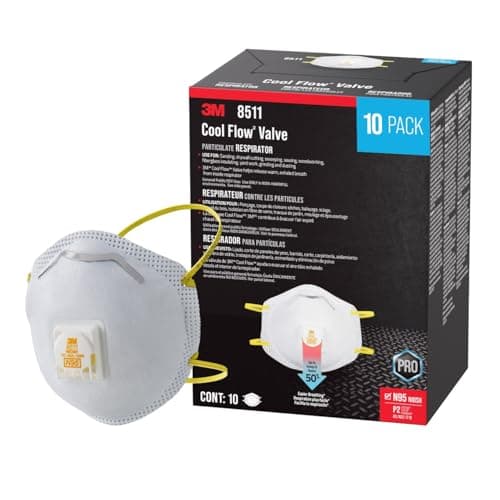
A NIOSH-approved N95 particulate respirator with Cool Flow exhalation valve for comfortable breathing during mold remediation. Filters at least 95% of airborne particles including mold spores. The adjustable M-noseclip and dual-strap design provide a secure seal. OSHA-recommended for mold work.
Pros
- NIOSH-approved N95 filtration
- Cool Flow valve reduces heat buildup
- Adjustable nose clip for secure fit
Cons
- Disposable, not reusable long-term
- Does not protect against chemical fumes or VOCs
- May not fit all face shapes comfortably
How to Install It, Step by Step
- Clear and prep the space.Remove debris, old insulation on the ground, sharp rocks, and anything that'll puncture the film. Rake the dirt roughly level.
- Treat existing mold FIRST — this is the step people skip. If the joists or old vapor barrier already have mold, deal with it before you seal. Sealing plastic over active mold traps the moisture it's already living on and you've built a greenhouse. A whole-space foggertreats the framing you can't reach by hand; see our black mold removal guide for the surfaces you can.
- Lay the first row. Roll the film out along the longest wall, running it 6 inches up the foundation.
- Overlap the next row 6 inches onto the first. Never butt seams edge-to-edge — moisture finds the gap.
- Tape every seam. Wipe the poly clean and dry, then run the seam tape down the full length of every overlap. An untaped overlap is not a seal.
- Attach to the walls.Fasten the 6-inch wall lap with butyl tape or a termination bar. If you're going for full encapsulation, run the barrier all the way up the walls and seal it.
- Cover penetrations. Cut and tape neatly around piers and posts.
Floor-Only Barrier vs. Full Encapsulation
A floor-only vapor barrier (dirt covered, walls not sealed, vents still open) is a real improvement and the right call for a lot of mild-climate homes with a modest moisture problem. Full encapsulation — barrier up the walls, foundation vents sealed, a dehumidifier added, and the space brought inside the building envelope — is what you need for a chronically wet space, a humid climate, or if you want the moisture problem gone for good. The upgrade path is: floor barrier → seal walls and vents → add a dehumidifier. You don't have to do it all at once, but a floor barrier under open vents in a humid summer only gets you part of the way. Our crawl space encapsulation guide breaks down the full-system cost (DIY vs. pro) and when the upgrade is actually worth it.
Mistakes That Waste the Whole Weekend
- Sealing over active mold. The one that turns a $300 project into a remediation bill. Treat first.
- No seam overlap or no tape.Butted or untaped seams leak ground moisture straight through — the barrier looks done and isn't.
- Ignoring the actual water source. A barrier stops soil vapor, not a plumbing leak, bad grading, or a downspout dumping against the foundation. Fix standing water first or the barrier just floats on it.
- Buying 6 mil for a whole space.You'll be back under there patching rips in two years.
Do it once, do it in reinforced 10–12 mil, tape every seam, and treat the mold before you cover the ground — that's the whole game. When the barrier's down and the vents are sealed, a right-sized crawl space dehumidifier holds the space at 50% and the musty smell upstairs disappears for good. Still deciding whether the crawl space is even your problem? Our guide to what mold smells like and the mold removal overview help you trace it.
Out of the Mold is reader-supported. When you buy through links on this page we may earn an affiliate commission at no extra cost to you. Thickness guidance follows IRC R408.3 and building-science recommendations; safety guidance follows EPA mold cleanup practices.
Frequently Asked Questions
What mil vapor barrier should I use for a crawl space?
Should the vapor barrier cover the walls too, or just the floor?
Can I put a vapor barrier over existing mold?
How much vapor barrier do I need for my crawl space?
Is DIY crawl space encapsulation worth it?
Related Articles
Mold in Your Crawl Space: DIY Removal vs Calling a Pro
Best Crawl Space Dehumidifiers That Actually Work (2026)
Best Mold Fogger & Mold Bomb: Machines, Solutions & Safety Guide (2026)
How to Get Rid of Mold in Your Basement (2026 Guide)
Musty Smell in House? Here's How to Find & Fix the Source
Best Mold Removal Products: What Works for Every Surface & Situation
Dealing With Mold Right Now?
Our step-by-step mold removal guide walks you through testing your home, choosing the right products, and knowing when a job is too big for DIY.
Read the Removal Guide